Random WSL tips & tricks
If you’re getting started with using WSL2, here are a few tips for making the most of your experience - from running Linux GUI apps, to accessing the Linux filesystem from Windows Explorer or exporting your distribution.
1. Running GUI applications with an X server
There are lots of situations when you might need to run a graphical application from WSL - I’m not talking about a full desktop environment (although that also works), but individual applications - for developing Electron applications, or running end-to-end browser tests for your web application.
You can achieve this in WSL in two steps:
- install an X server on Windows - I’m using VcXsrv, and you can either launch it right before starting your GUI app on Linux, or have it run at start-up.
- export the
DISPLAYenvironment variable on Linux with the IP address of the WSL virtual machine. Because the virtual machine gets an IP address dynamically, you need to get it every time you start WSL - but you can get it dynamically from/etc/resolv.conf:
export DISPLAY=$(cat /etc/resolv.conf | grep nameserver | awk '{print $2; exit;}'):0
At this point you can start the application on Linux, and if everything is configured properly, the X server should create the application window:
Don’t expect perfect animations or 60 FPS - it works well enough to accomplish very specific tasks, but you should probably not use this setup for any resource intensive applications.
2. Cross distribution temporary directory
If you used WSL, you probably know that your C:/ drive is accessible from WSL
in /mnt/c - what you might now know, however, is that starting with build
19018, there is a temporary directory that is shared by all your WSL
instances - /mnt/wsl:
Keep in mind, however, that by default the directory is temporary, and everything gets removed when the WSL virtual machine restarts. (Interestingly enough, Docker Desktop for Windows leverages cross-distro support to expose the Docker daemon across distributions.)
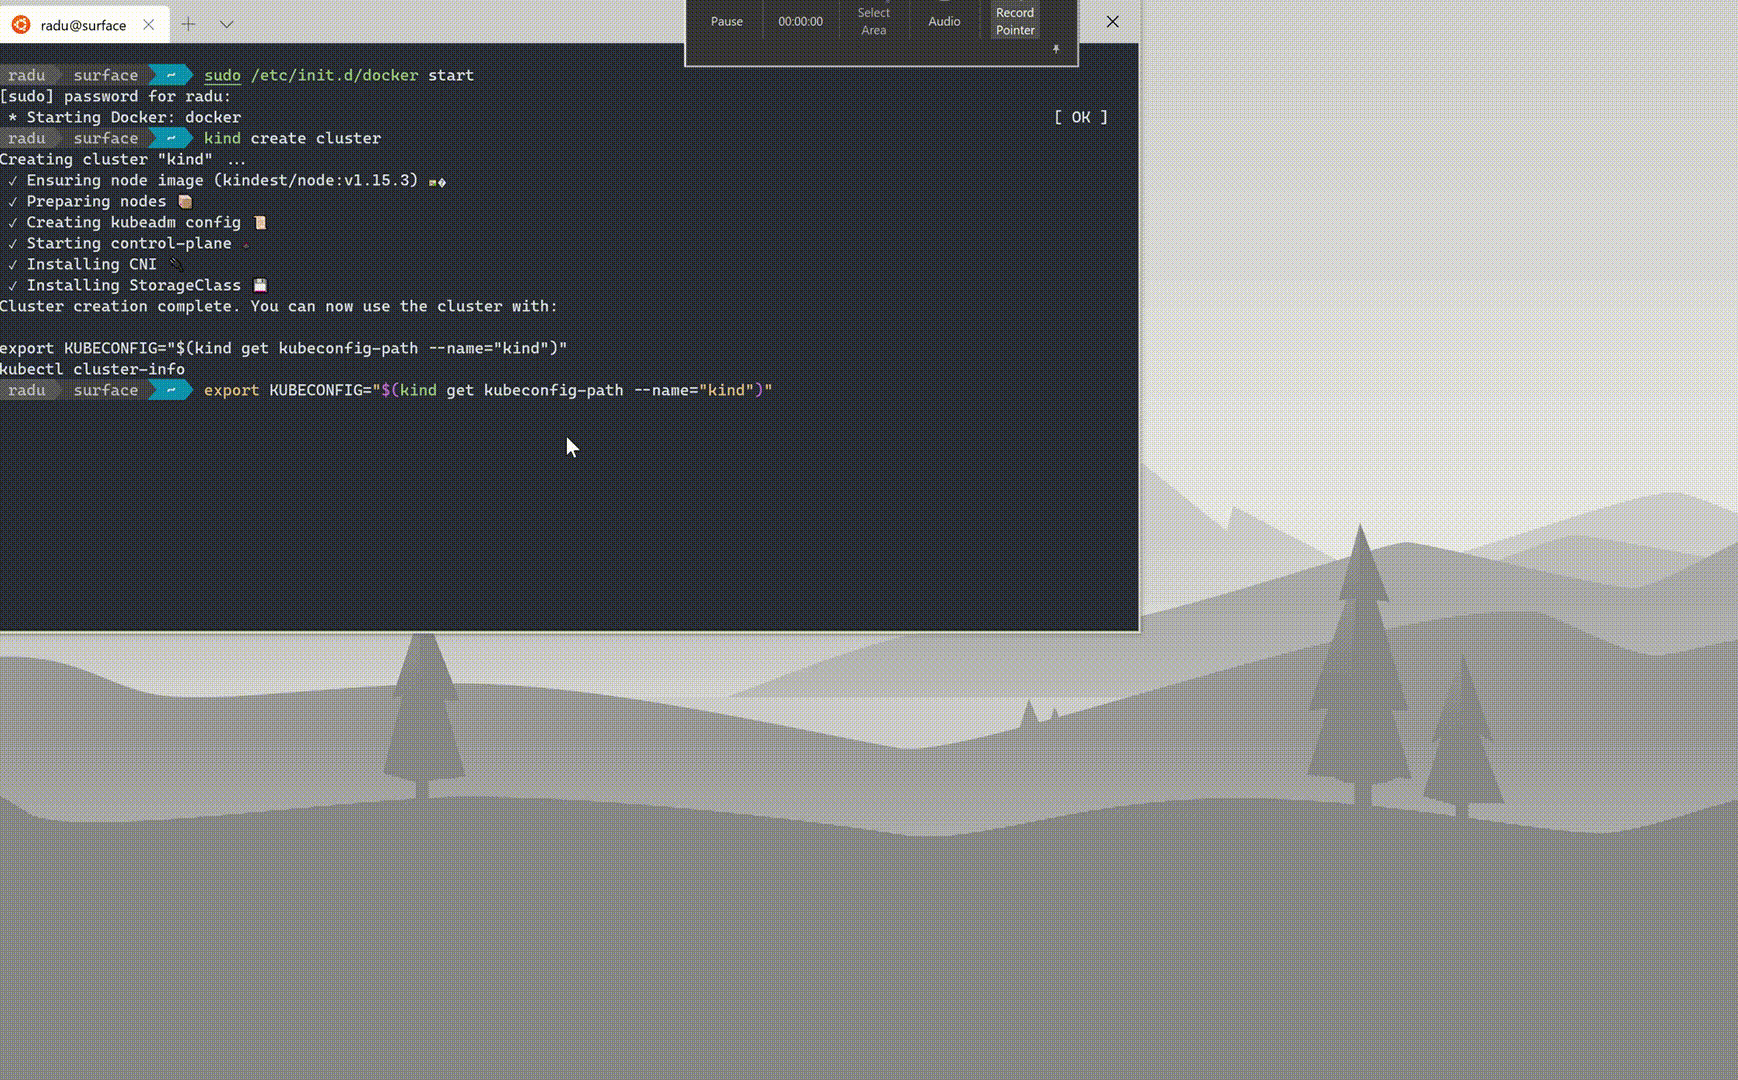
3. Running native Docker and a Kubernetes cluster
Docker released a tech preview on Docker for Windows and WSL2 - this removes the Moby Linux VM and runs Docker in a WSL distribution. If you need to use Docker across Windows and WSL, and even between multiple WSL distributions, you should really give it a try!
But if you only need to use Docker within a single WSL distribution, it might be easier to just install Docker natively, according to the docs, and just start and stop it as you need:
$ sudo /etc/init.d/docker start
 * Starting Docker: docker         [ OK ]

# do your Docker work

$ sudo /etc/init.d/docker stop
 * Stopping Docker: docker         [ OK ]
This way, you’re only using resources when you actually need them.
If you have Docker installed, you can use Kind to create a local Kubernetes cluster. You can start using any tools you want to interact with your cluster, including Octant, a very nice dashboard and explorer for clusters. At this point, you can either start a browser instance on Windows, or if you’re using an X server, on Linux. (You can use the same method to start the Linkerd, or Brigade dashboards.)
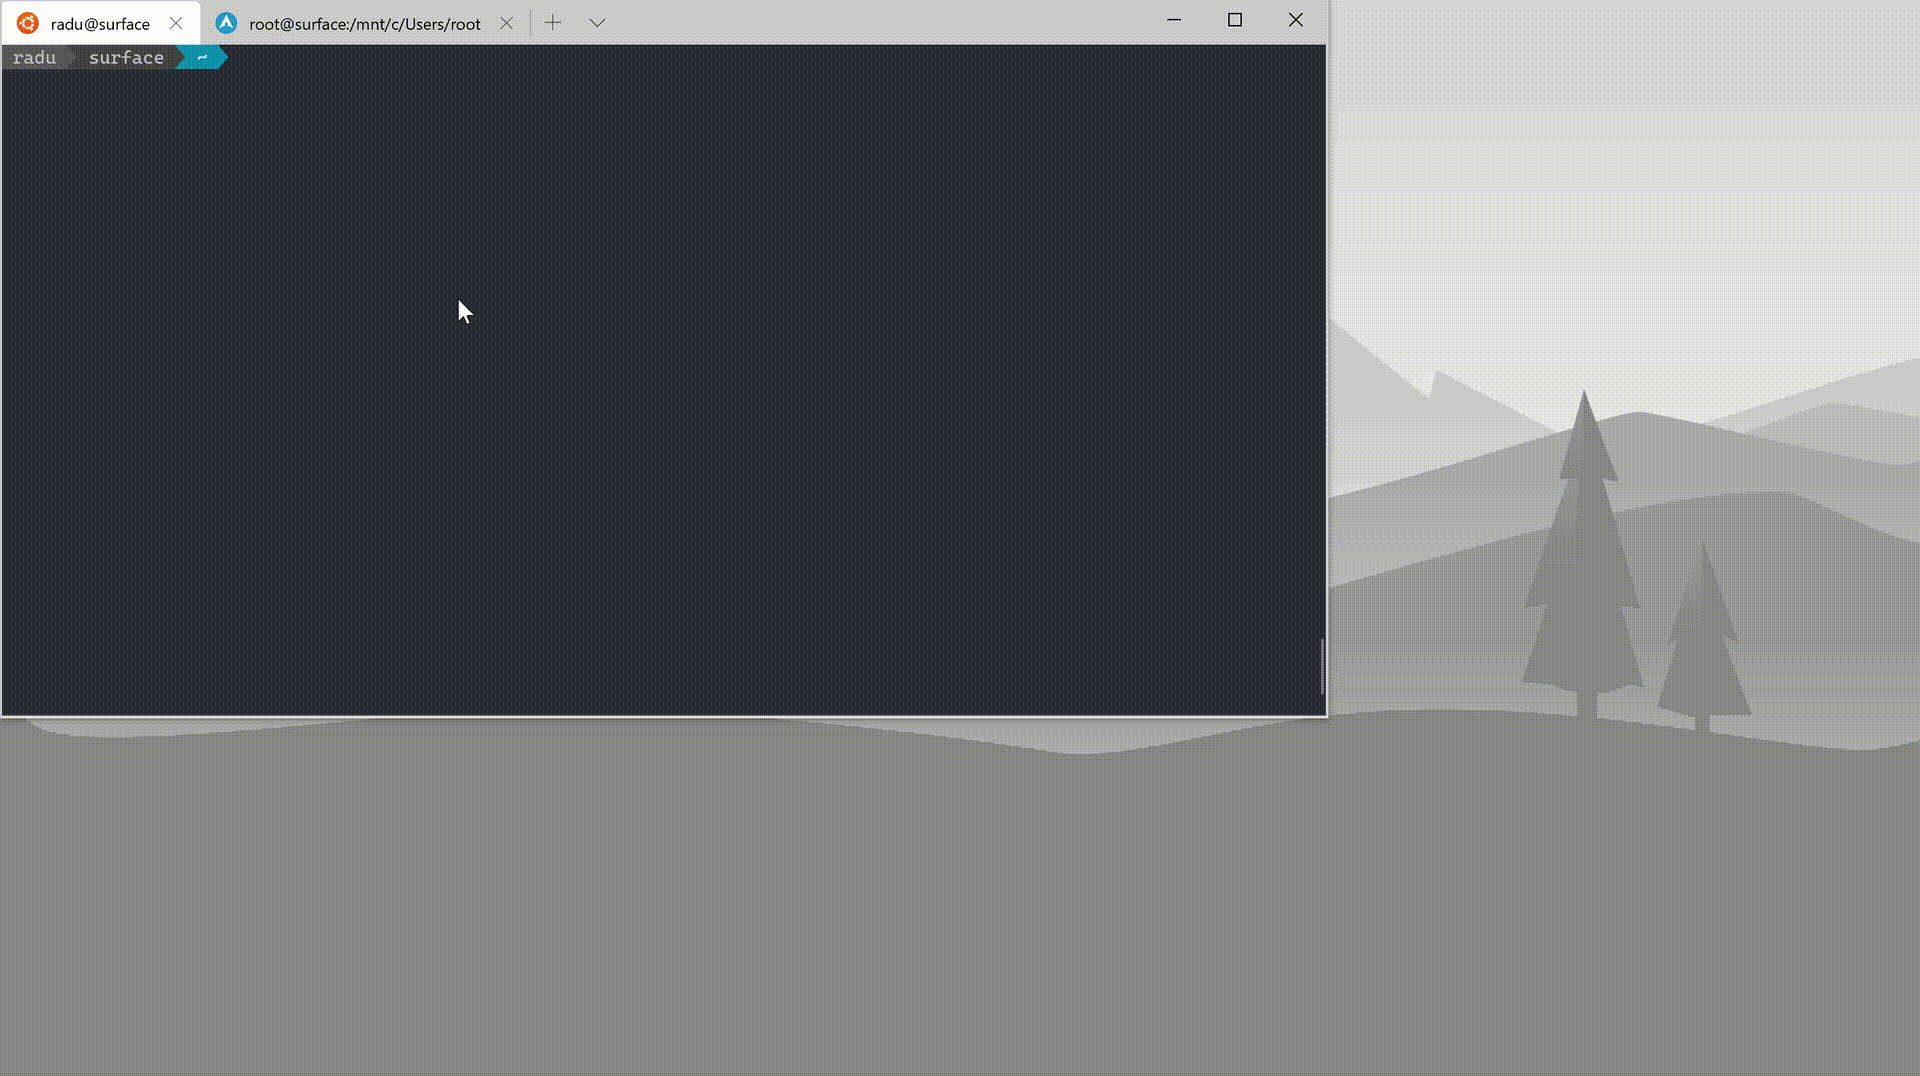
4. explorer.exe . starts Windows Explorer in the current directory
If you need a file explorer, you can use the built-in Windows Explorer - from
any terminal console, if you type explorer.exe ., Windows Explorer will start
in the current directory, allowing you to navigate the entire Linux filesystem.
If you have multiple running distributions, you can see and interact with all of
their filesystems:
5. code . starts VS Code Remote WSL in the current directory
If you are using VS Code Remote WSL, you can directly start a new
instance of VS Code from any terminal console by using the code, or
code-insiders commands, followed by the directory you want to open. If you
want to reuse a currently opened VS Code instance, you can pass the -r flag:
This is an easy way of quickly editing Linux files by opening them directly in
VS Code, for example: code ~/.bashrc.
6. Use Windows applications with WSL paths
We’ve seen earlier that the WSL filesystem is accessible from Windows Explorer - but you can use it from any Windows application - keeping in mind that file access speeds across operating systems will be slower, you can pass the WSL directory path to the Windows application and you can start using it.
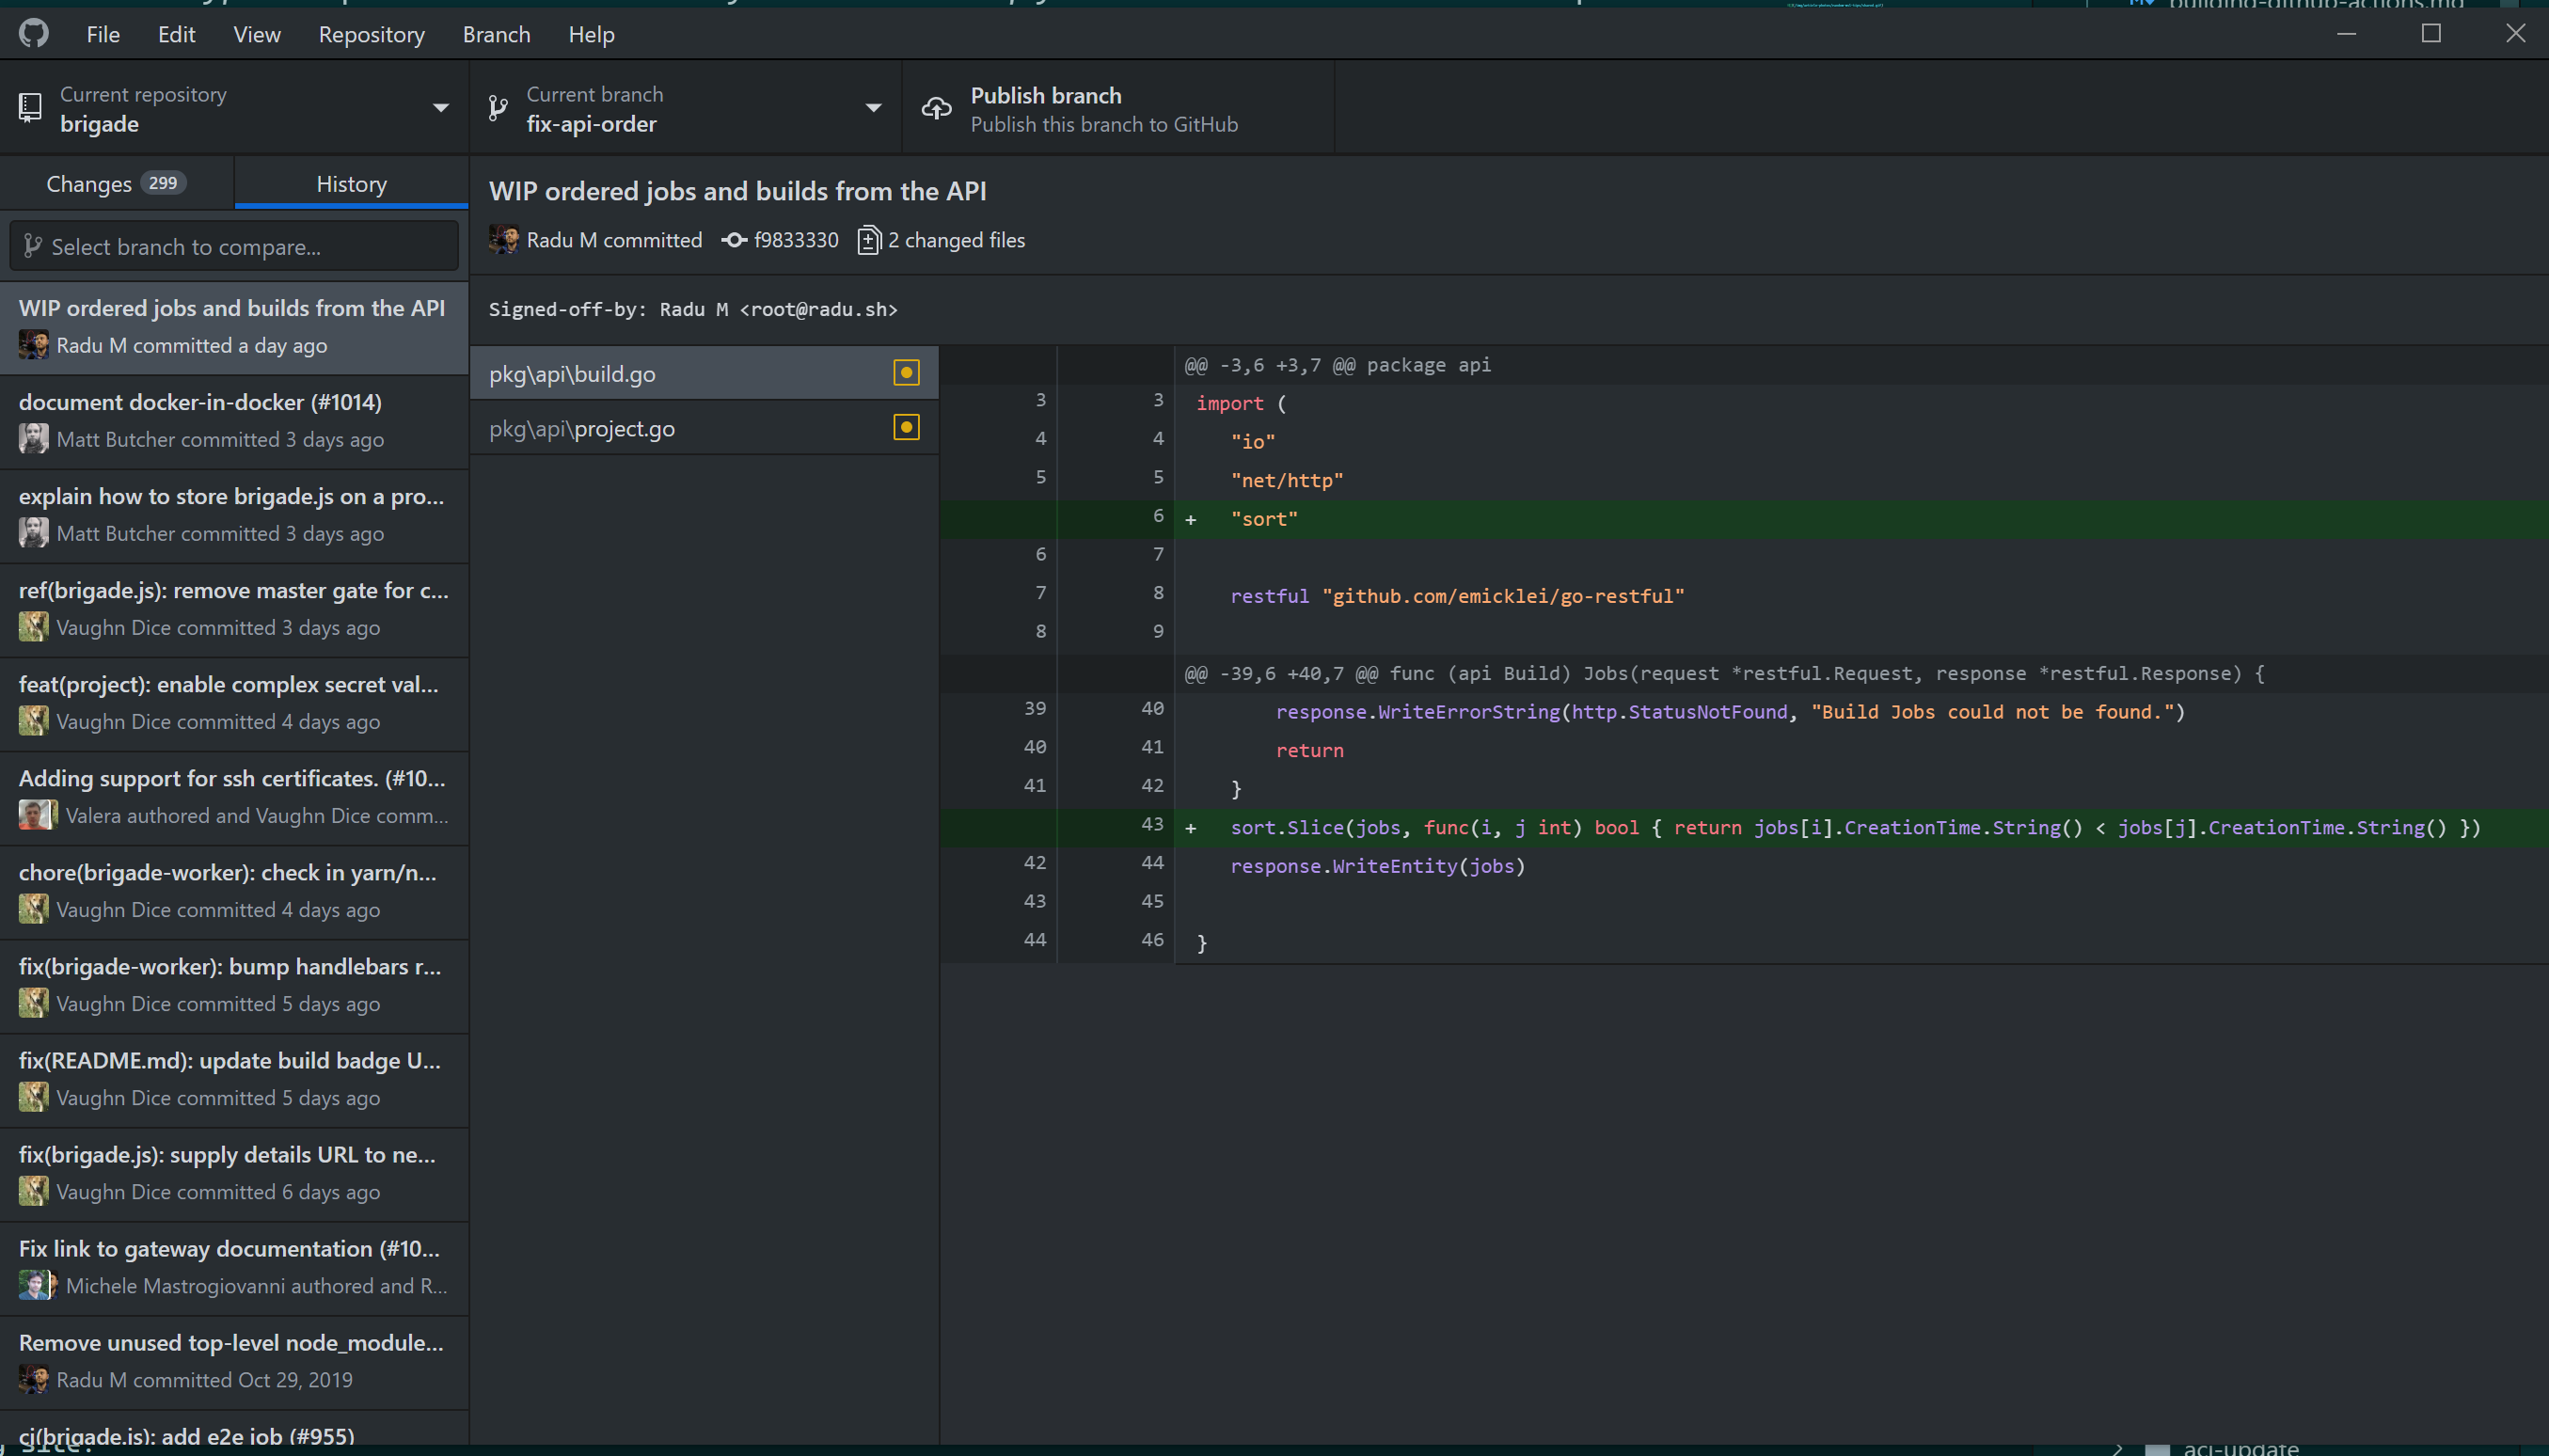
Here’s GitHub Desktop running on Windows, with a repository from WSL - ideally,
you might want to use Linux git command line, but this is a great way to
review PRs, or view diffs:
7. Cleanup processes, terminate instances, shutdown the VM
Sometimes after closing a window, VS Code doesn’t stop all the
server processes immediately in WSL - if you want to terminate all VS Code
processes, you can use pkill to manually terminate all of them:
$ pkill -f vscode
There was a recent blog post by the WSL team about improvements to memory reclaim - this is much better in the latest build, but I still find myself manually terminating a distribution, or the entire virtual machine, after a resource intensive operation, or when I finished working within WSL:
$ powershell.exe wsl.exe --terminate <your-distro>
# OR
$ powershell.exe wsl.exe --shutdown
8. Exporting, importing, and duplicating distributions
In the previous article we explored how to build a WSL distribution
based on a Dockerfile, by building a container, then exporting its filesystem,
then importing it with wsl --import. This is also the simplest way of running
a newer Ubuntu version (you can download 16.04 and 18.04 from the Store, but if
you want anything newer, export the filesystem from a container based on that
distribution.)
You can create multiple instances of the same distribution by importing the same filesystem multiple times. However, if you want to duplicate your current environment:
$ wsl --export <distribution> <archive-file-name>
$ wsl --import <new-distribution> <install-location> <archive-file-name>
Now you have two identical distributions - you can do any potential harmful testing in one environment, then delete it.