Getting started with SignalR Alpha 2
Table of Contents
- Introduction
- Chat, of course
- Adding a C# console client
- Handling connection and disconnection events
- Working with an MVC/WebApi application
- Streaming
- Sending binary data
- Redis scaleout
- Conclusion
Introduction
ASP.NET SignalR is a library for ASP.NET developers that simplifies the process of adding real-time web functionality to applications. Real-time web functionality is the ability to have server code push content to connected clients instantly as it becomes available, rather than having the server wait for a client to request new data.
While ASP.NET hit version 2.0, SignalR has been in development for the better part of the last couple if years - and if you want to get an insight on new things, I recommend watching this talk by David Fowler and Damian Edwards, the people in charge of SignalR (and the creators of it).
In this article we will explore how to get started with the Alpha 2 version of SignalR for ASP.NET Core 2.0 - you can read the announcement blog post on MSDN, but here are some of the of the news in case you haven’t followed SignalR for a while:
- new JavaScript and TypeScript clients
- JSON and binary messages based on MessagePack - and while ProtoBuf is not yet implemented, there are some [samples available](- https://github.com/aspnet/SignalR/blob/357f5f85bbc7b794f95bcb63799f98bc1dcee68e/samples/SocialWeather/Protobuf/WeatherReport.proto ) and I hope it will be one of the officially supported protocols
- streaming support (this is incredibly exciting!)
- no more automatic reconnection
- single hub per connection
In this blog post we will explore how to get started with some of the most common scenarios for SignalR, and in order to follow along you need version 2.0.0 of .NET Core installed on your machine - you can get started here
Chat, of course
You can find the chat sample on GitHub
Every article, talk or piece of documentation on SignalR needs to include a chat sample - this has been the standard ever since the beginning, and I will also include a sample here - it will be a very simple sample, just enough to make sure you have everything configured correctly and to understand the basic concepts of SignalR.
As I was saying earlier, you need .NET Core 2.0.0 in order to get started - we will create a new empty web application with dotnet new web, which gives us the simplest ASP.NET Core web application possible - a Program.cs, a Startup.cs and a .csproj.
First, we need to add a reference to SignalR in our .csproj file - <PackageReference Include="Microsoft.AspNetCore.SignalR" Version="1.0.0-alpha2-final" />, then do a dotnet restore.
This is how your .csproj should look like:
Now let’s create our Chat Hub - essentially, it is a class that inherits the base Hub class from SignalR. It only has a single method, Send, which sends messages to all connected clients - in fact, the method tells all clients to execute their broadcastMessage with name and message as parameters.
Now we need to tell our app to add the SignalR service and instruct it on how to expose the chat service we just created: all you need to notice here:
services.AddSignalR()- this adds SignalR to the available services and to the dependency injection engineapp.UseFileServer()- this allows the serving of static files - we will need this once we add a simple HTML page
app.UseSignalR(routes =>
{
    routes.MapHub<ChatHub>("chat");
});
- this instructs the app to use SignalR and to map the Hub we just created, and expose the endpoint as
/chat
Below is the full Startup.cs file:
Now to the client: we need to create a simple HTML page that can send messages. It will use the SignalR JavaScript client, which you can either download using npm: npm install @aspnet/signalr-client, or use the gist from here.
Here’s a breakdown on what’s happening in the web page:
- we have some input of type text, where we write the messages
- we have a button that when we press we want to send the message
- then we make a reference to the SignalR JavaScript client that should be in the same folder as your HTML file
Now for the SignalR magic:
var transport = signalR.TransportType.WebSockets;- we specify that we want to use WebSocketsvar connection = new signalR.HubConnection("http://${document.location.host}/chat", { transport: transport });- we create a new SignalR connection to the/chatendpoint we defined inStartup.cs, using WebSockets as the trasport
connection.on('broadcastMessage', (name, message) => {
var liElement = document.createElement('li');
liElement.innerHTML = '<strong>' + name + '</strong>: ' + message;
document.getElementById('discussion').appendChild(liElement);
});
- here we define and implement the
broadcastMessagemethod we saw in the hub earlier - essentially, we add the message we received in an unordered list in the page
button.addEventListener("click", event => {
    connection.invoke('send', name, messageInput.value);
    messageInput.value = '';
    messageInput.focus();
});
- then we simply start the connection:
connection.start();
Below is the full index.html:
Now if we want to actually see if it works, we need to start the web app (either from Visual Studio/Code, or through dotnet run), then in a browser go to http://localhost:5000:
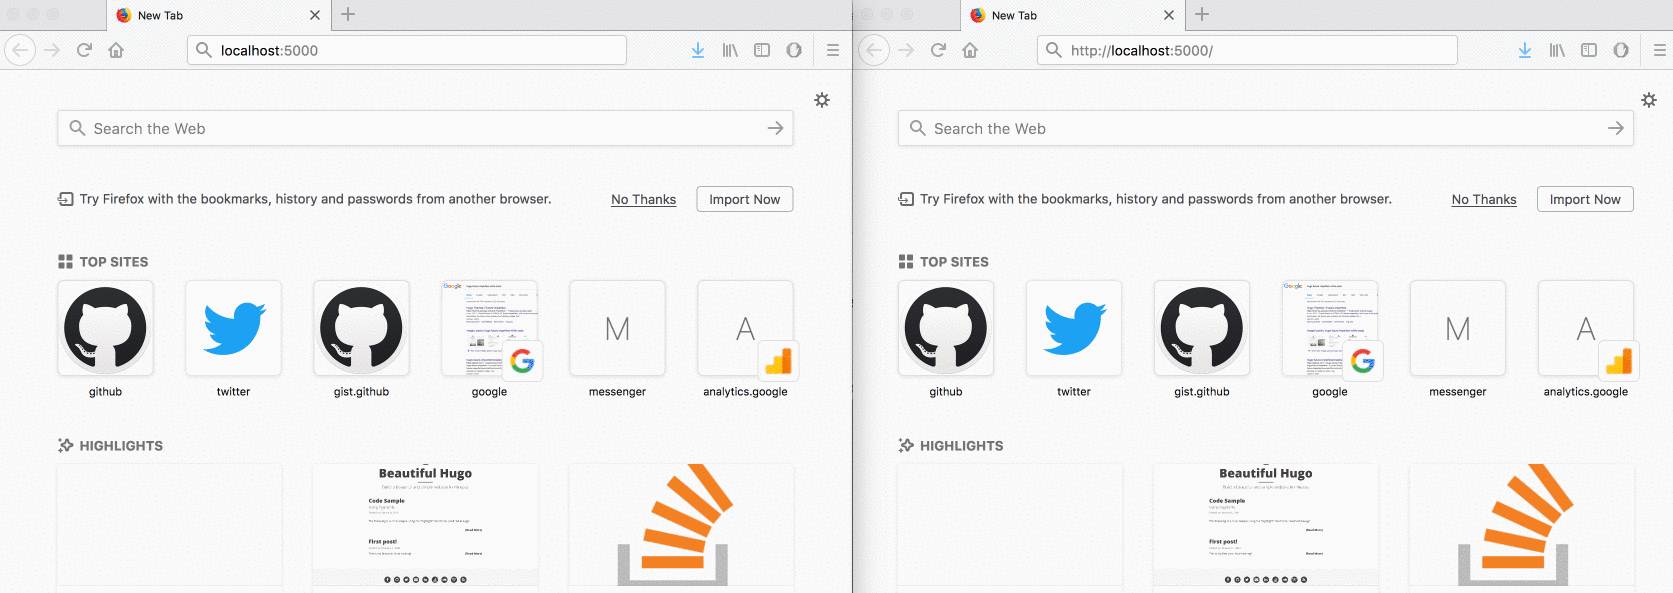
At this point, you successfully created a very simple SignalR chat application - you now know how to create hub methods and client methods, and how to connect a web app using the JavaScript client.
You can find the chat sample on GitHub
Adding a C# console client
You can find the full implementation of the console client on GitHub
Now if we want to connect a C#-based client, we only need to add the Microsoft.AspNetCore.SignalR.Client package to a dotnet new console newly created app, specifically <PackageReference Include="Microsoft.AspNetCore.SignalR.Client" Version="1.0.0-alpha2-final" />
Let’s explore the most important things about the console client:
- we first start the connection to
http://localhost:5000/chat
public static async Task StartConnectionAsync()
{
    _connection = new HubConnectionBuilder()
         .WithUrl("http://localhost:5000/chat")
         .WithConsoleLogger()
         .Build();

    await _connection.StartAsync();
}
- then, we register and implement the method for
broadcastMessage:
_connection.On<string, string>("broadcastMessage", (name, message) =>
{
    Console.WriteLine($"{name} said: {message}");
});
Below is the full Program.cs:
You can find the full implementation of the console client on GitHub
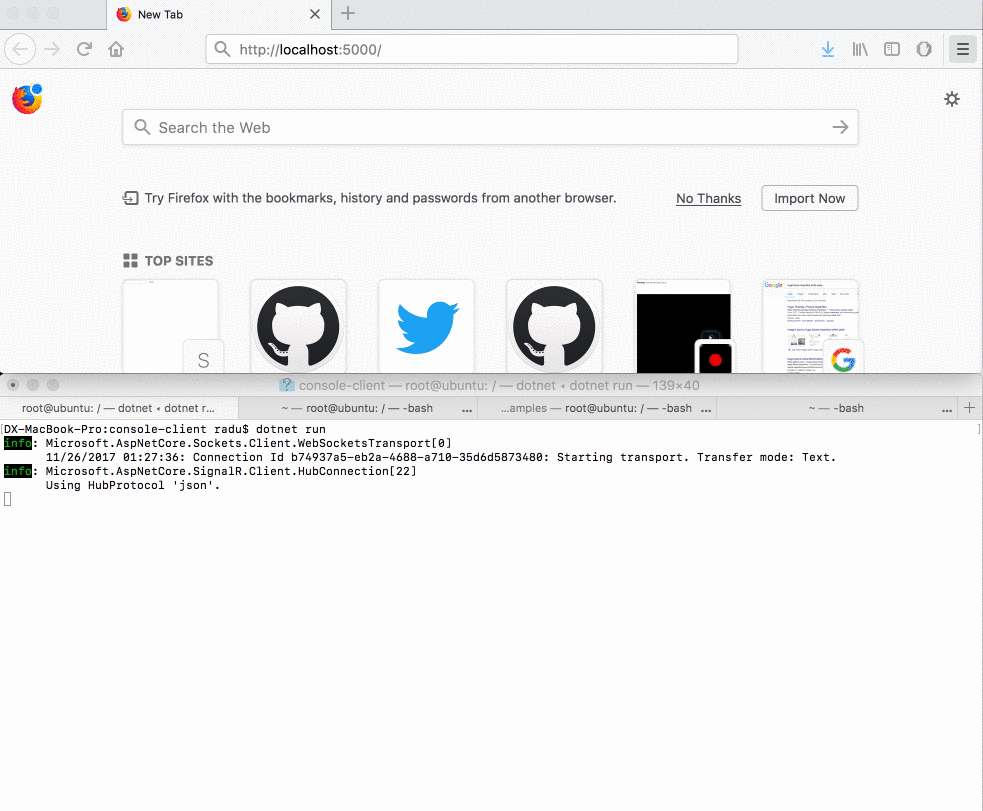
Let’s see how it works:
Handling connection and disconnection events
Another thing we used to do in the old SignalR was to handle connection and disconnection events through some overridden methods in our hubs. We can still do this in an extremely similar way - below you can find the OnConnectedAsync and OnDisconnectedAsync methods:
public override Task OnConnectedAsync()
{
    Clients.All.InvokeAsync("broadcastMessage", "system", $"{Context.ConnectionId} joined the conversation");
    return base.OnConnectedAsync();
}
-
this method invokes the
broadcastMessageand tells everybody the connection ID of the newly connected client, then returns and continues with the regularOnConnectedAsyncimplementation from the hub -
the
OnDisconnectedAsyncmethod basically does the same thing
public override Task OnDisconnectedAsync(System.Exception exception)
{
    Clients.All.InvokeAsync("broadcastMessage", "system", $"{Context.ConnectionId} left the conversation");
    return base.OnDisconnectedAsync(exception);
}
Working with an MVC/WebApi application
You can find the MVC sample on GitHub
Another popular situation of using SignalR is to provide notifications through an MVC or WebAPI application, more specifically through a controller method. This means the initial point of interaction will not by directly calling a hub method, but after one client making a REST request to a controller - then, from the controller method, we need to send an update to all connected clients.
We will start with a simple dotnet new webapi application and add SignalR the same way as we did earlier. Then, we will work with the ValuesController aleady generated for us.
Now we add a simple NotificationsHub that doesn’t have any methods - since clients will not call directly hub methods, but rather be notified from the controller.
Now the client is pretty much the same, the only difference is that when the button is pressed, there is no SignalR hub invocation, but a simple fetch to a controller method - and the controller is the interesting one:
-
in the constructor of the controller we inject an instance of the hub context for
NotificationsHub- this will allow us to have a way to interact with the clients connected toNotificationsHubfrom outside the hub (rememberGlobalHostin older versions of SignalR?) -
then, we simply call some method on the connected clients as if we were inside a hub
You can find the MVC sample on GitHub
- basically, whenever you need a hub context in ASP.NET Core outside of a hub, you can request an instance of the hub context from the dependency injection engine, and the framework will take care of it.
So far we saw how to create a chat application with web and console clients, then how to send notifications from a controller. Let’s now see how to stream data!
Streaming
To get up to date with the observable pattern, you can read this article from the docs
We will not get into details on how the streaming actually works, you can read the specification int the SignalR repo
We will start again from a dotnet new web empty application and add SignalR as in the first example and add a StreamingHub class, and we will add a new streaming method in our hub. Let’s see what’s happening here:
- in order to stream from the method, we need it to return an
IObservable<T>which will send a message every second - the
SendStreamInitmethod is used to broadcast to all connected clients that the streaming started, and each client will handle the stream event in their specific way - we’ll see more when implementing the clients
public void SendStreamInit()
{
    Clients.All.InvokeAsync("streamStarted");
}

public IObservable<string> StartStreaming()
{
    return Observable.Create(
        async (IObserver<string> observer) =>
        {
            for (int i = 0; i < 10; i++)
            {
                observer.OnNext($"sending...{i}");
                await Task.Delay(1000);
            }
        });
    }
}
Now for the JavaScript client:
- we define what should happen on the next streaming invocation -
next, on error -errand when the streaming finishes -complete - we add an event listener for the button which invokes the hub method that starts the streaming on all clients
- then, we define and implement the
onStreamReceivedmethod which just adds the message to an unordered list
The thing to notice here is that when one client pushes the stream button, all connected clients will start the streaming - you can directly call the streaming when the button is pressed if you only want the caller to start the streaming.
function startStreaming(){
connection.stream("StartStreaming").subscribe({
next: onStreamReceived,
err: function(err){
console.log(err);
},
complete: function(){
console.log("finished streaming");
}
});
}
connection.on("streamStarted", function(){
startStreaming();
});
button.addEventListener("click", event => {
connection.invoke("sendStreamInit");
});
function onStreamReceived(data){
console.log("received: " + data);
var liElement = document.createElement('li');
liElement.innerHTML = '<strong>' + "received" + '</strong>: ' + data;
document.getElementById('discussion').appendChild(liElement);
}
Now let’s see a C# client handling the stream:
- here we see the most interesting part of the C# client, the part where we actually handle the streaming data - we start the streaming just like we did with the JavaScript client, then we try to read a
stringout of the channel - then, we simple print the message on the console.
public async static Task StartStreaming()
{
    var channel = await _connection.StreamAsync<string>("StartStreaming", CancellationToken.None);
    while (await channel.WaitToReadAsync())
    {
        while (channel.TryRead(out string message))
        {
            Console.WriteLine($"Message received: {message}");
        }
    }
}
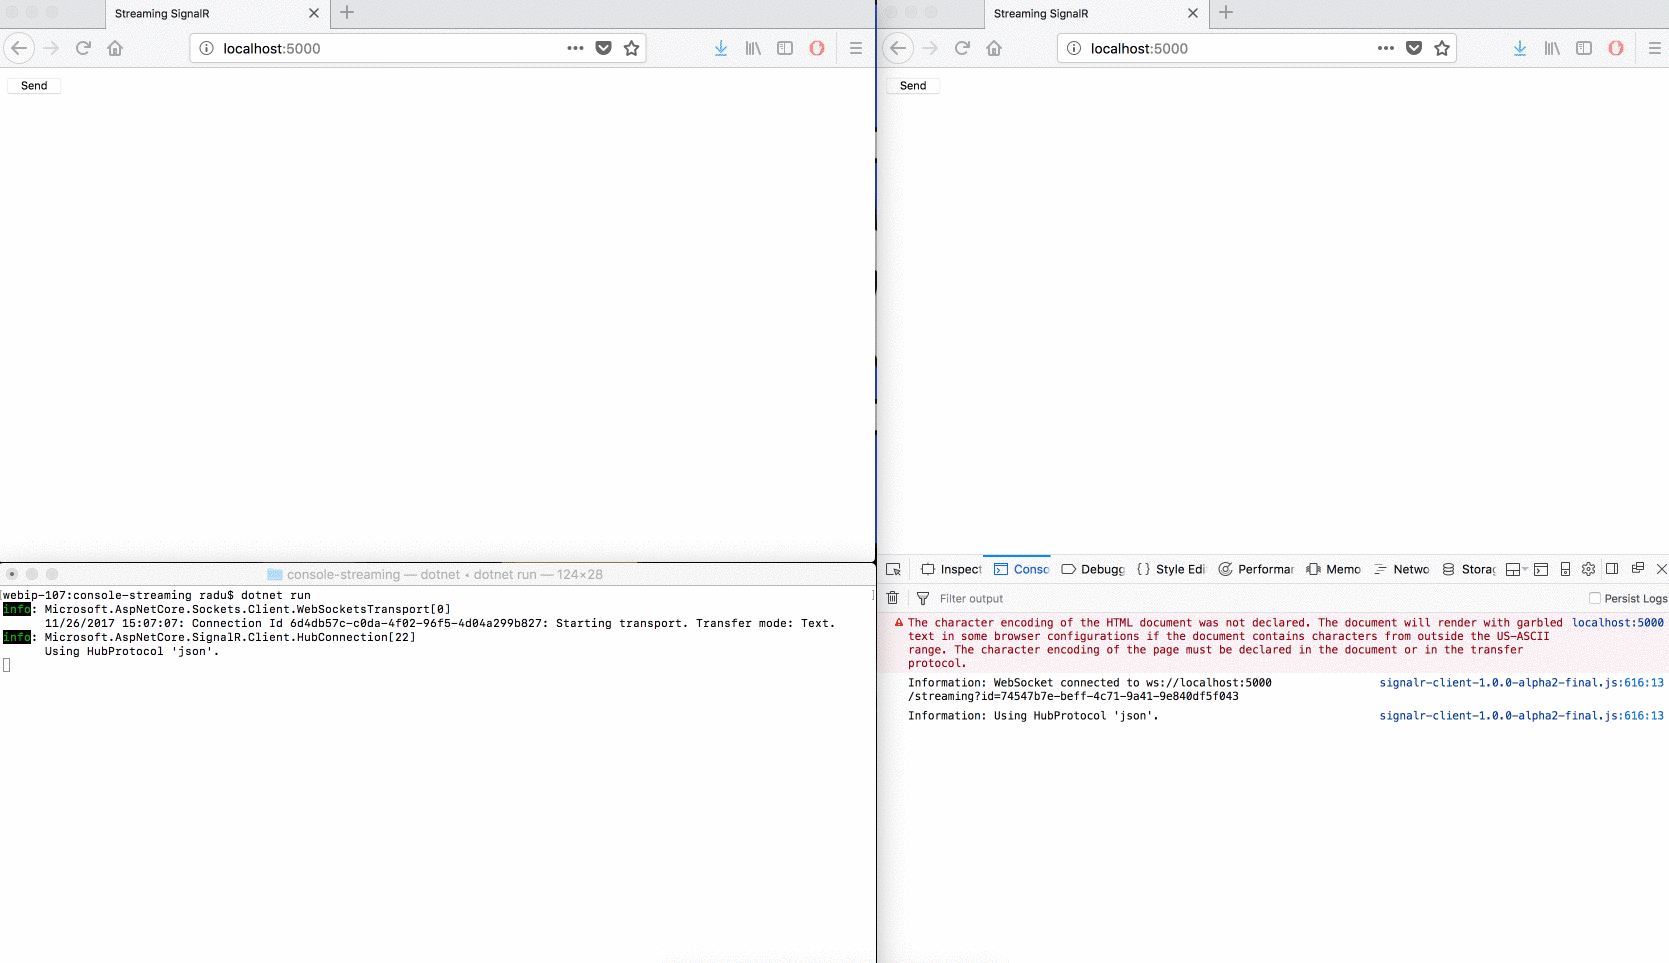
Now let’s take a look at both the web and the C# clients running:
Sending binary data
So far we only saw how to use the JSON protocol to send data. One of the awesome features of the new SignalR version is the ability to send binary encoded data. We will explore how to set the clients to use the binary format protocols.
First, the C# client - when defining the connection, all we need to to is tell HubConnectionBuilder to use the message pack protocol - here’s how the connection initialization looks like:
public static async Task StartConnectionAsync()
{
    _connection = new HubConnectionBuilder()
         .WithUrl("http://localhost:5000/chat")
         .WithConsoleLogger()
         .WithMessagePackProtocol()
         .Build();

    await _connection.StartAsync();
}
The only difference is .WithMessagePackProtocol() - from this point on, the C# client will use the message pack protocol.
Now let’s see the JavaScript client - here we also need to include the script for message pack: signalr-msgpackprotocol-1.0.0-alpha2-final.js (that you can get by doing npm install @aspnet/signalr-client), then define the protocol as being: var protocol = new signalRMsgPack.MessagePackHubProtocol();
var protocol = new signalRMsgPack.MessagePackHubProtocol();
var connection = new signalR.HubConnection(`http://${document.location.host}/chat`, { transport: transport, protocol: protocol });
And that’s pretty much it - you can find a full example for the chat app and console client that use the binary protocol on GitHub.
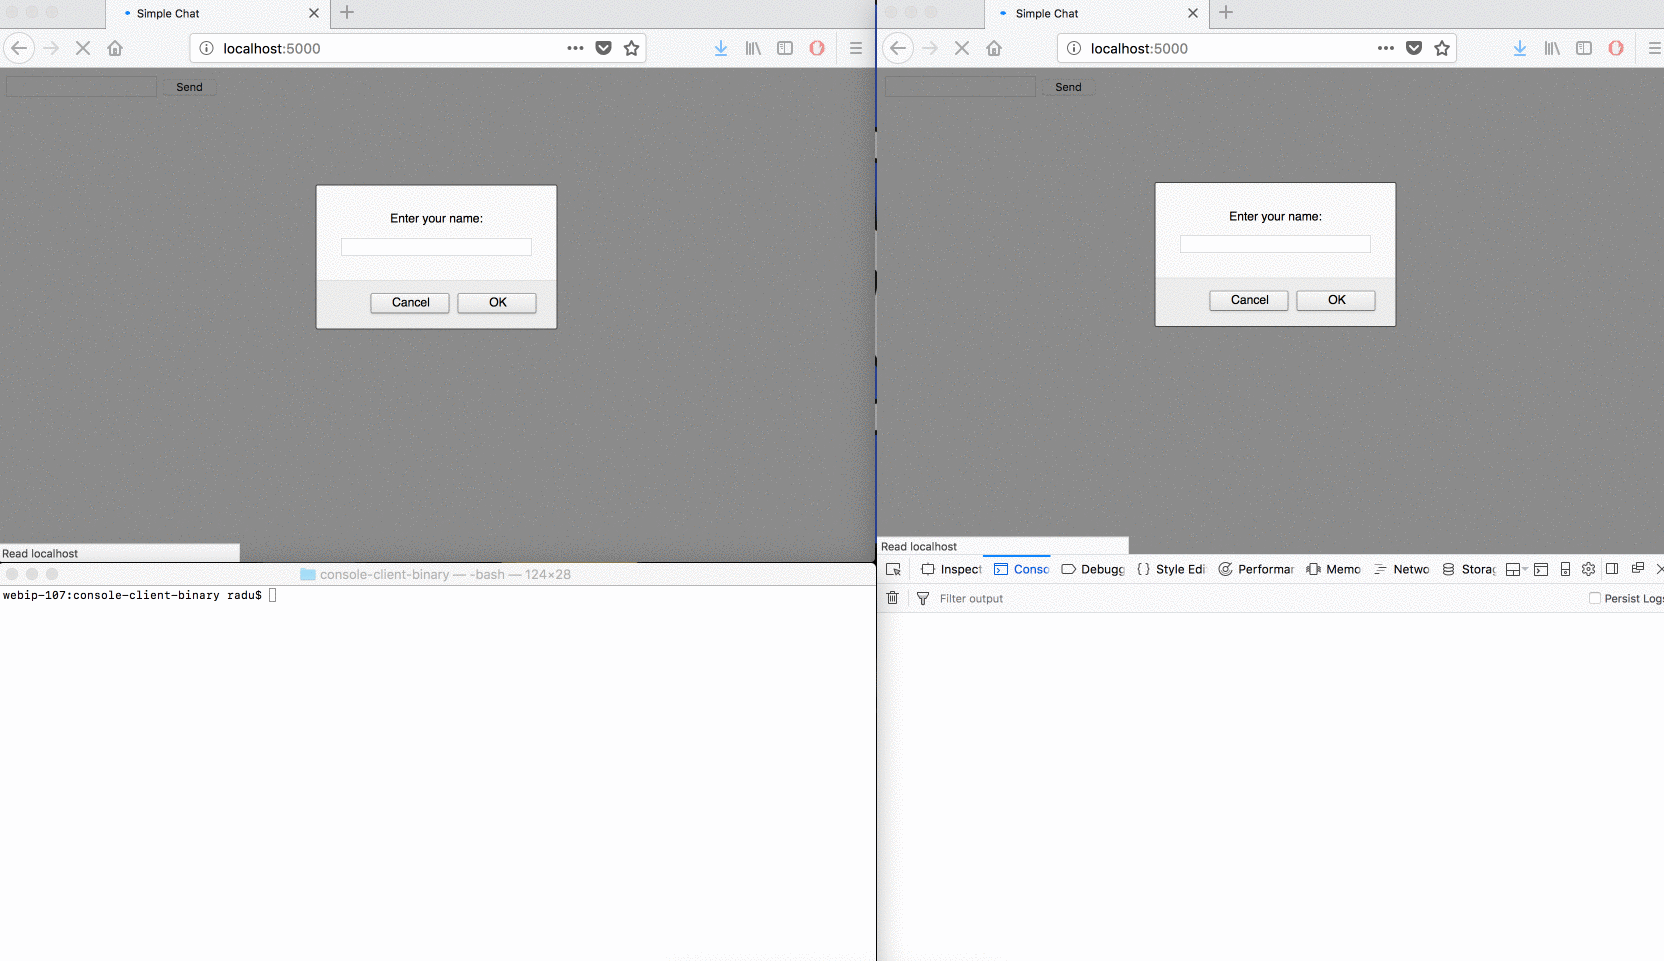
If we run the binary samples, we can see that the protocol is set in both cases to messsagepack.
So far we saw how to create a simple chat, to inject the hub context into a controller, stream data for JavaScript and C# clients and set the protocol to binary. Now we’ll take a look at another common use case - Redis scaleout.
Redis scaleout
For each connected client, SignalR will keep its connection ID in memory - this means that if we ever need to scale our app to multiple instances, sending a message to all connected clients will simply not work anymore, since each instance will hold only a portion of all connected clients.
For these situations, we will use a Redis cache and SignalR will automatically pass messages between instances. Essentially, we only need to add the reference to Redis, and the SignalR.Redis package: Microsoft.AspNetCore.SignalR.Redis
public void ConfigureServices(IServiceCollection services)
{
    services.AddSignalR()
        .AddRedis(options => options.Factory = writer =>
        {
            return ConnectionMultiplexer.Connect("localhost", writer);
        });
}
Now all you need is a Redis instance and you’re set - hint: you can start a Redis Docker container within a couple of seconds with docker run -p 6379:6379 --name redis redis
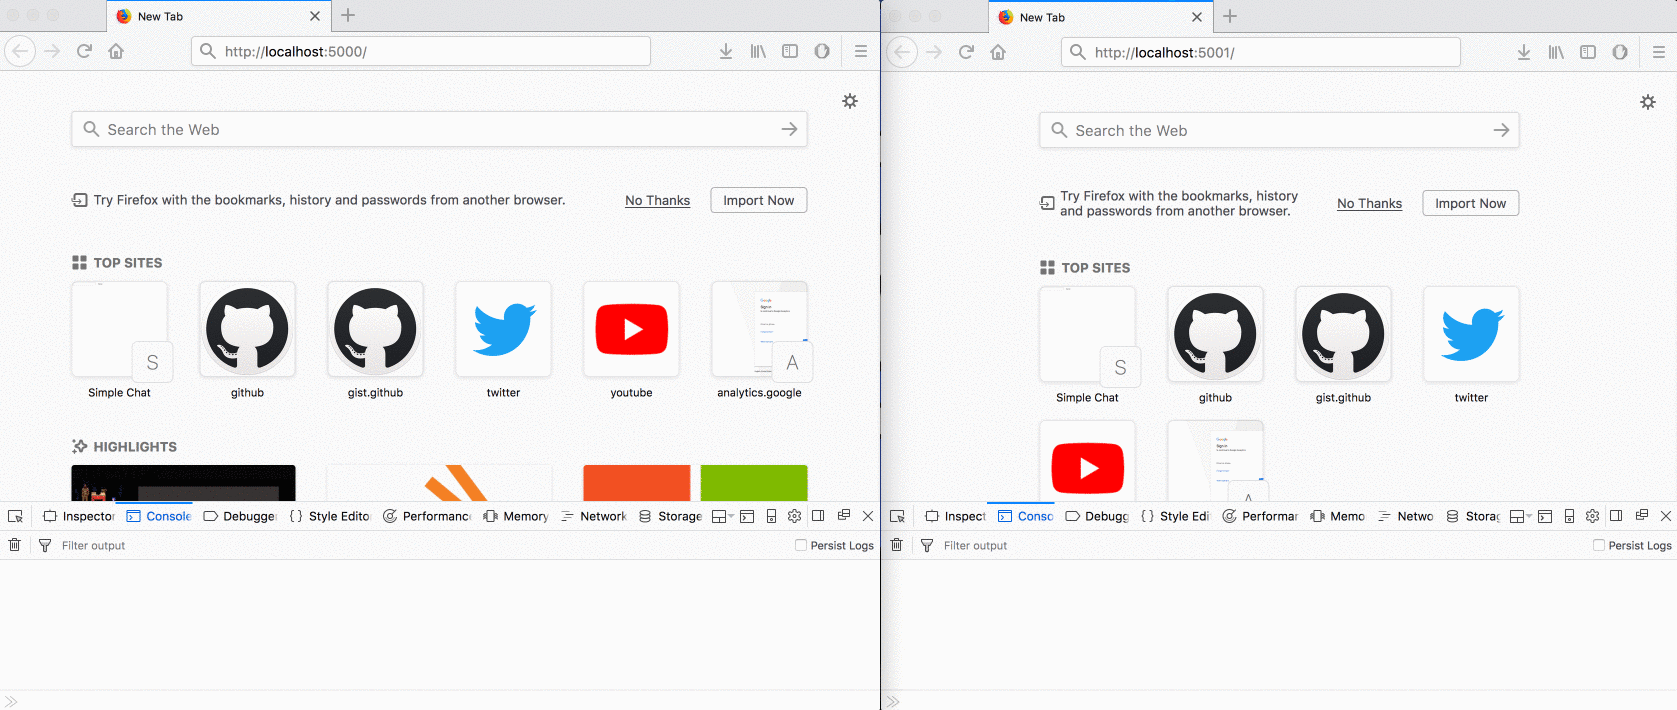
Now if we start two instances of the same web application, simulating how we would normally scale the app (here we will have two different port, but normally you would have a load balancer in front of your application): ASPNETCORE_URLS="http://*:5000" dotnet run and ASPNETCORE_URLS="http://*:5001" dotnet run, then go to a browser:
Conclusion
In this example I tried to exemplify most common scenarios when using SignalR - if there is a scenario you would like to see in more detail, please let me know in the comments below!
Feedback
Thanks for reading, feedback si welcome as always - you can use the comments below, or send me an email!