Using Draft to develop front-end + back-end applications. Experimenting with Draft, VS Code and remote debugging.
Application containers have skyrocketed in popularity over the last few years. In recent months, Kubernetes has emerged as a popular solution for orchestrating these containers. While many turn to Kubernetes for its extensible architecture and vibrant open-source community, some still view Kubernetes as too difficult to use. - Taken from the Draft announcement blog post.
Draft is an open-source tool that makes it easy to develop container-based applications and deploy them to Kubernetes clusters without knowing much about Docker and Kubernetes – Using tools like Draft lets you and your teams focus on building the application rather than on configuring clusters and writing deployment manifests.
To get started with Draft you can follow the official Draft documentation and watch a short episode on Azure Friday:
If you ever developed an application that you later deployed on Kubernetes, you know that this is not a trivial task: you need to write a Dockerfile, push it to a container registry, then create Kubernetes manifest files for the deployment and the service and then apply them using kubectl, helm or other deployment tools - and we haven’t even started to think about continuous integration and deployment.
And the steps above become even more painful when you’re making small changes to your application and redeploying it - you have to rebuild and push your image, then remember to update your deployment manifest with the new image tag (you should really avoid using latest as your image tag).
And this is where Draft comes in - it is a command-line application that:
- builds your container image
- pushes your container image to any container registry
- pushes the application to any Kubernetes cluster using a Helm chart
Essentially, deploying a new Draft application boils down to two simple commands: draft create and draft up.
- Draft comes with a set of existing packs for some common programming languages and development frameworks - essentially, these are just templates consisting of a Dockerfile and a Helm chart for your application that eliminates the part where you have to actually write your Dockerfile and Kubernetes manifest files - here you can read all about the Draft pack format.
- Draft also comes with a set of example applications for those packs that you can easily deploy on your cluster using
draft createanddraft up.- You can either start working from an existing pack and customize it to your needs (changes to Dockerfile and the Helm chart), or you can create your own pack repository for you and your team to use.
- Draft will inject values specific to your current iteration in the Helm chart (like the name, image tag and build ID), so you don’t have to update them manually.
- After deploying your application on the cluster, you can use
draft connectto forward the ports exposed by the application locally - this enables developing the front-end of the applications locally, forwarding the connection to the back-end throughlocalhostports. More on this later.
Prerequisites
In order to follow along with this article, you will need:
- a Kubernetes cluster - you can use any existing Kubernetes cluster, locally or on your cloud provider
- you can deploy a managed AKS Kubernetes cluster on Azure, or you can deploy a managed GKE Kubernetes cluster on Google Cloud Platform
- you can use Minikube to run Kubernetes locally, or create a single-node cluster using Docker for Mac or Docker for Windows
- Helm installed on your cluster - here’s the official documentation on installing and configuring Helm
- Docker running locally
- access to a container registry (like Docker Hub, Azure Container Registry, Google Container Registry or Amazon Elastic Container registry) - if you’re using Minikube, you can skip pushing to a registry
- the Draft client
- here’s how to configure Draft with a Kubernetes cluster in the cloud
- here’s how to configure Draft with Minikube
Those were the requirements to start using Draft right away. Additionally, to work on the sample provided with this article, you should also configure:
- NodeJS and Angular CLI
- VS Code - we will only truly use VS Code for the debugging part - until then, you can use any text editor you are familiar with.
Develop, deploy and debug front-end + back-end apps on Kubernetes
Our scenario is the following: we are working on an Angular front-end that uses a NodeJS back-end, which has to run in the cluster due to some dependencies we cannot or don’t want to replicate locally - those can be databases we don’t have access to, queues we need to use, or multiple micro-services we simply cannot run locally.
We will use Draft to easily iterate through changes in our back-end, and use the port-forwarding functionality to test our front-end locally, before deploying it in the cluster. We will also see how to use VS Code to experiment with the remote debugging of the NodeJS application deployed to Kubernetes.
While this article uses Angular and NodeJS, the same tools and thinking can be applied to any front-end + back-end configuration you might have.
Our starting point is a GitHub repository containing both projects.
Credits for the Angular application go to this SitePoint article which explains how to get started with Angular and RxJS - while we will not get into details, it is a great source if you’re getting started with Angular.
Clone the repository and navigate to the folder containing the solution:
$ git clone https://github.com/radu-matei/angular-todo-app
$ cd angular-todo-app
Deploy the Node back-end
Earlier we were talking about Draft packs, and how to get started with an existing application - this sample is already configured with the Dockerfile and Helm chart required to deploy on Kubernetes - however, you can customize it to your needs and even write your own packs for your team.
You can find the pack used for this application in my packs repository - the only difference compared to the official Draft pack for NodeJS is that this one exposes an additional port that we will use later for remote debugging, 9229 - more on this later.
Navigate to the node-backend folder, and if everything is setup correctly, you should be able to:
$ draft up
Draft Up Started: 'todos-api'
todos-api: Building Docker Image: SUCCESS ⚓  (1.0020s)
todos-api: Pushing Docker Image: SUCCESS ⚓  (9.0293s)
todos-api: Releasing Application: SUCCESS ⚓  (0.6775s)
todos-api: Build ID: 01CAQQR0K8BH4MES9WFQS0S5RT
Inspect the logs with `draft logs 01CAQQR0K8BH4MES9WFQS0S5RT`
Within around 10 seconds, Draft built and pushed my container image, then deployed my application to the Kubernetes cluster. Let’s see what our cluster looks like after this operation.
Note that the first time you build and push the image it might take a little more - this is because Docker doesn’t have any layers cached locally.
Under the hood, after pushing the container image, Draft used Helm to deploy the chart:
$ helm ls
NAME         REVISION     UPDATED                      STATUS       CHART                NAMESPACE
todos-api    1            Tue Apr 10 15:16:14 2018     DEPLOYED     node-debug-v0.1.0    default
This resulted in one pod:
$ kubectl get pods
NAME                                    READY     STATUS    RESTARTS   AGE
todos-api-node-debug-2786020832-qv0pf   1/1       Running   0          2m
A deployment:
$ kubectl get deployments
NAME                   DESIRED   CURRENT   UP-TO-DATE   AVAILABLE   AGE
todos-api-node-debug   1         1         1            1           4m
And a ClusterIP type service:
$ kubectl get services
NAME                   TYPE        CLUSTER-IP    EXTERNAL-IP   PORT(S)    AGE
kubernetes             ClusterIP   10.0.0.1      <none>        443/TCP    20d
todos-api-node-debug   ClusterIP   10.0.202.58   <none>        8080/TCP   5m
All the values, cluster types and container ports can be configured in
/charts/values.ymland in/charts/templates.
Now we can start forwarding the ports exposed by our application locally, and access it as if it were running in a local process:
$ draft connect
Connect to node-debug:8080 on localhost:8080
Connect to node-debug:9229 on localhost:9229
[node-debug]: > node --inspect index.js
[node-debug]:
[node-debug]: Debugger listening on ws://127.0.0.1:9229/221daeb2-8f1b-4b66-b91d-644628107a09
[node-debug]: For help see https://nodejs.org/en/docs/inspector
[node-debug]: Express server listening on port 8080
The logs you see come from the Kubernetes pod we just deployed:
$ kubectl logs todos-api-node-debug-2786020832-qv0pf
> [email protected] start /usr/src/app> node --inspect index.js
Debugger listening on ws://127.0.0.1:9229/221daeb2-8f1b-4b66-b91d-644628107a09
For help see https://nodejs.org/en/docs/inspector
Express server listening on port 8080
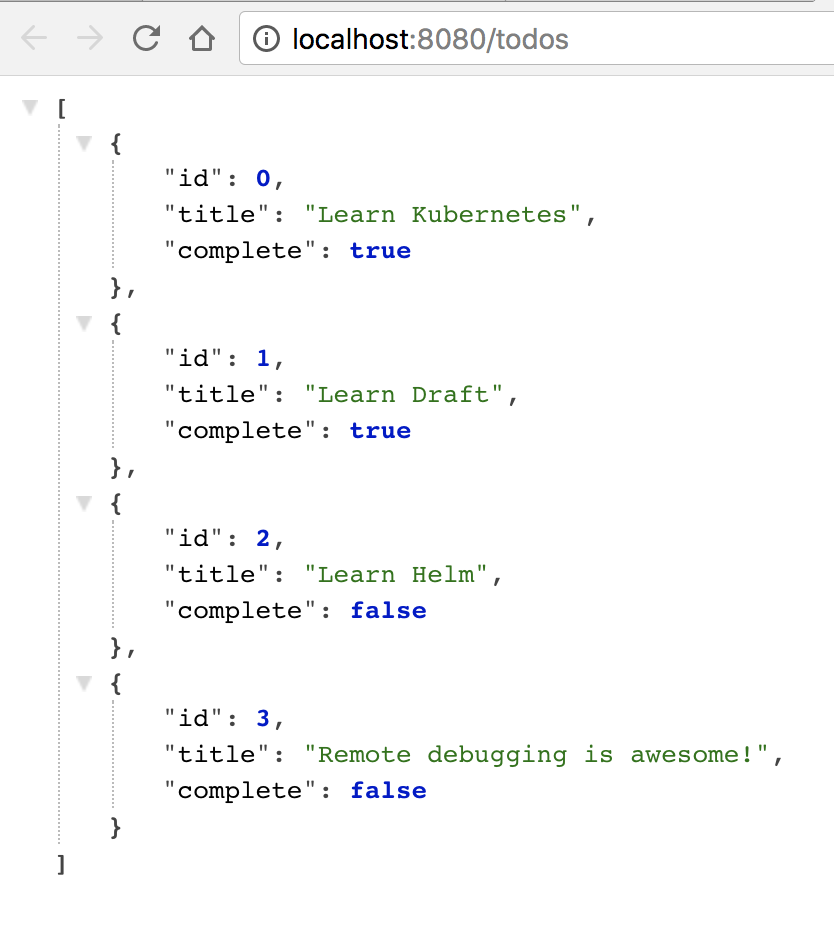
Now if you browse to http://localhost:8080/todos you should be able to navigate through the API we just deployed to Kubernetes.
You can find settings related to the ports used by
draft connectin thedraft.tomlfile from the root of the directory, and you can customize on what local ports you want to expose your application.
Here you can find information about connecting to your application.
Exploring the Angular front-end
Now if we navigate to the angular-frontend folder and execute npm install and npm start:
$ npm install
$ npm start
> [email protected] start /Users/radu/go/src/github.com/radu-matei/angular-todo-app/angular-client
> ng serve

** NG Live Development Server is running on http://localhost:4200 **
Hash: 6c27ad3a7fc35b2f2fa0
Time: 6869ms
chunk    {0} polyfills.bundle.js, polyfills.bundle.js.map (polyfills) 195 kB {4} [initial] [rendered]
chunk    {1} main.bundle.js, main.bundle.js.map (main) 21.2 kB {3} [initial] [rendered]
chunk    {2} styles.bundle.js, styles.bundle.js.map (styles) 21.6 kB {4} [initial] [rendered]
chunk    {3} vendor.bundle.js, vendor.bundle.js.map (vendor) 2.52 MB [initial] [rendered]
chunk    {4} inline.bundle.js, inline.bundle.js.map (inline) 0 bytes [entry] [rendered]
webpack: Compiled successfully.
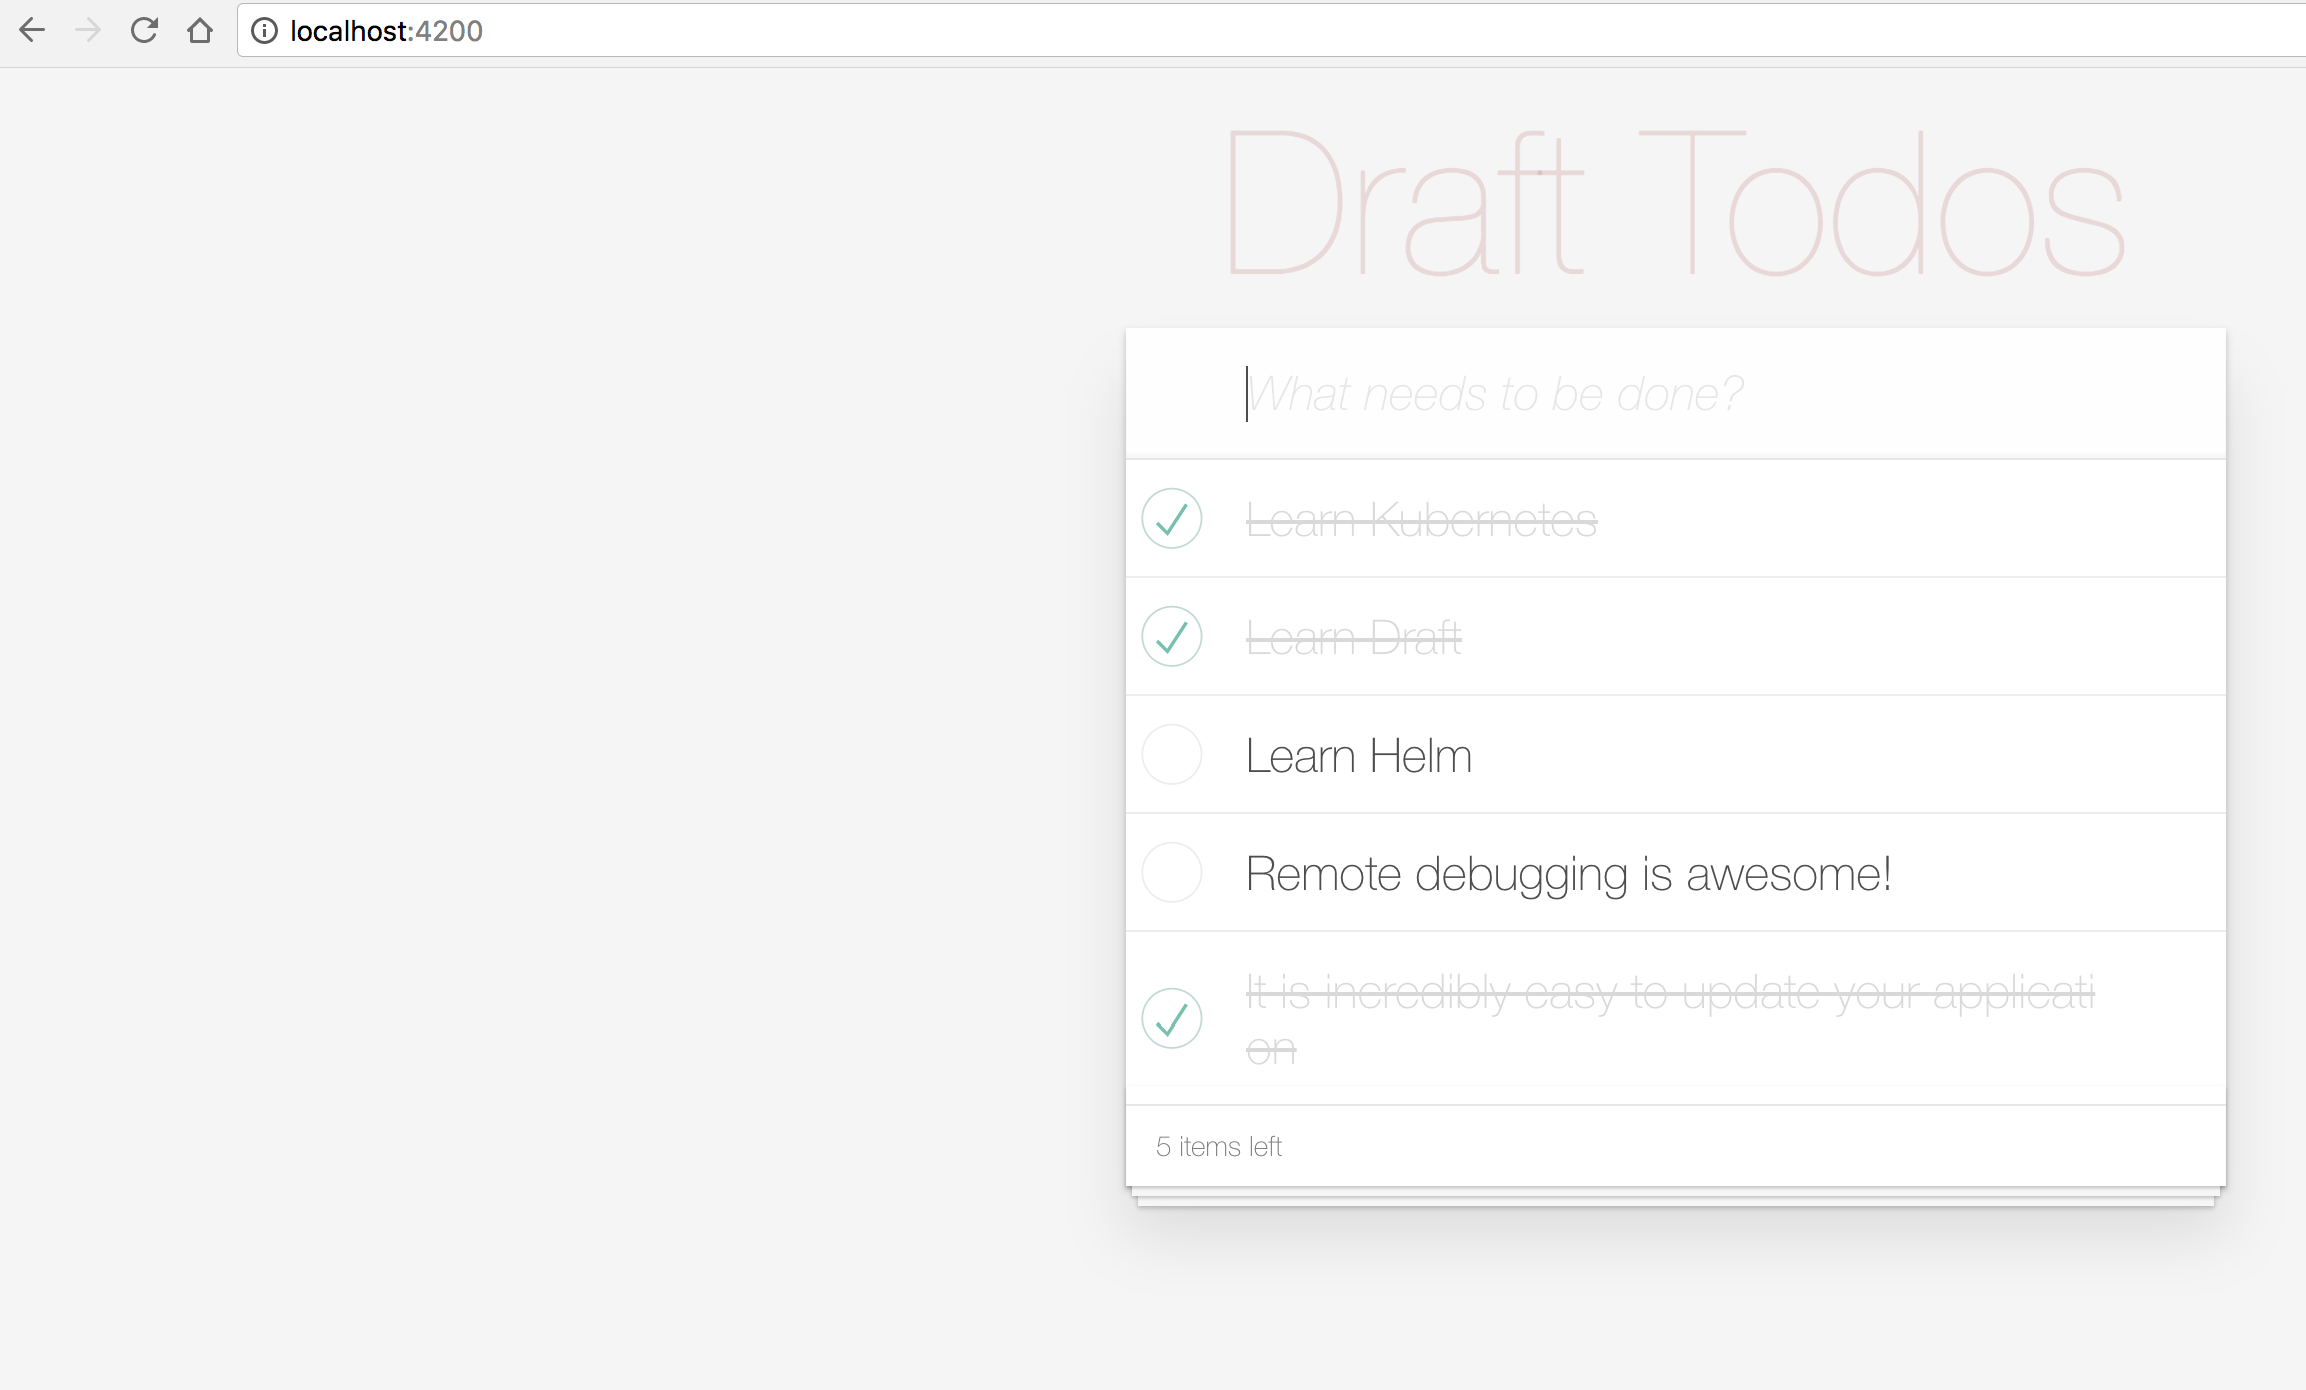
The front-end is already configured to talk to the back-end on localhost:8080, so at this point we can navigate to http://localhost:4200 and start playing around with our application:

You will surely find bugs with the front-end application, as I modified it to work with my back-end, and my front-end skills are non-existent. For starters, the counter is broken - feel free to open pull-requests for any problems you find :)
You can now modify the Angular application, and the live development server will recompile the application.
But what if you want to make changes to your back-end?
Updating the back-end
At this point, without Draft, making a change to your back-end would require: manually re-building and pushing the container image, then updating the the Kubernetes manifests with the new image tag, then waiting for your pod to be up and manually forward the port so you can test your front-end again - and if you’re rapidly iterating and making small changes, this becomes an incredibly annoying and repetitive task.
Let’s make a change to our back-end - if we go to index.js, we can see where our ToDo items are coming from, and we can add a new entry:
const inMemoryTodoDB = [
    { id: 0, title: 'Learn Kubernetes', complete: true },
    { id: 1, title: 'Learn Draft', complete: true },
    { id: 2, title: 'Learn Helm', complete: false },
    { id: 3, title: 'Remote debugging is awesome!', complete: false },
    { id: 4, title: 'It is incredibly easy to update your application', complete: true },
];
Now we simply save the file and execute draft up --auto-connect:
$ draft up --auto-connect
Draft Up Started: 'todos-api'
todos-api: Building Docker Image: SUCCESS ⚓  (4.0053s)
todos-api: Pushing Docker Image: SUCCESS ⚓  (16.0338s)
todos-api: Releasing Application: SUCCESS ⚓  (1.2102s)
todos-api: Build ID: 01CAQTGH3JNWB7GQQZFVNR5SFE
Inspect the logs with `draft logs 01CAQTGH3JNWB7GQQZFVNR5SFE`
Connect to node-debug:8080 on localhost:8080
Connect to node-debug:9229 on localhost:9229
[node-debug]:
[node-debug]: > [email protected] start /usr/src/app
[node-debug]: > node --inspect index.js
[node-debug]:
[node-debug]: Debugger listening on ws://127.0.0.1:9229/501876bb-eda4-47b1-8f8c-f4c4dfaf648e
[node-debug]: For help see https://nodejs.org/en/docs/inspector
[node-debug]: Express server listening on port 8080
This command executed the draft up cycle again (build and push the container image, then update the application in your Kubernetes cluster), then exposed the application ports locally - now simply refresh your application page:
It is this easy to iterate through changes in your application - all you have to do is execute draft up.
So far, all the features we saw are stable and already used by developers to simplify their development cycle when using Kubernetes. But regardless of what tool you use today, one thing that is either missing, not working correctly or incomplete is debugging the application you deployed to the cluster. In the next section we will experiment with VS Code and remotely debug the back-end we just deployed.
Experimenting with VS Code and remote debugging
The features you are about to see are experimental and their development is in progress.
You can follow along and start contributing to these features on GitHub.
If you want to try the debugging experience right now, you have to debug or side-load the extension from the branch above using these instructions.
In the node-backend folder you can find the .vscode/launch.json file - this contains the configuration we will use to remote debug our application using Draft and VS Code. With the extension above activated (in debug or side-loaded), open the node-backend directory in a new VS Code window and hit F5, or start debugging:
The video was not modified in any way - this is the debugging experience in real-time.
The cluster used in the video above is an Azure AKS cluster in West Europe, while my debug session takes place in Bucharest, Romania - around 1800 kilometers (~1100 miles).
Let’s take a step back and rewind what we are doing: when we hit F5, Draft is building and pushing a container image, then upgrading the application in a Kubernetes cluster, exposing the application ports locally. We are then using the NodeJS remote debugger from VS Code to attach to the back-end deployed in Kubernetes, then we do breakpoint debugging as if we are doing everything locally!
This is just a taste of what you will be able to do with Draft and the Kubernetes extension for VS Code.
Conclusion
In this article we briefly looked at how Draft can simplify your Kubernetes application development. We also began experimenting with VS Code and remote debugging of your applications deployed with Draft.
Stay tuned to find out more about how to simplify your development of applications on Kubernetes.
As always, thanks for reading - and let me know if you’re interested in remote debugging and what you are using today - I would love to hear your thoughts in the comments below!